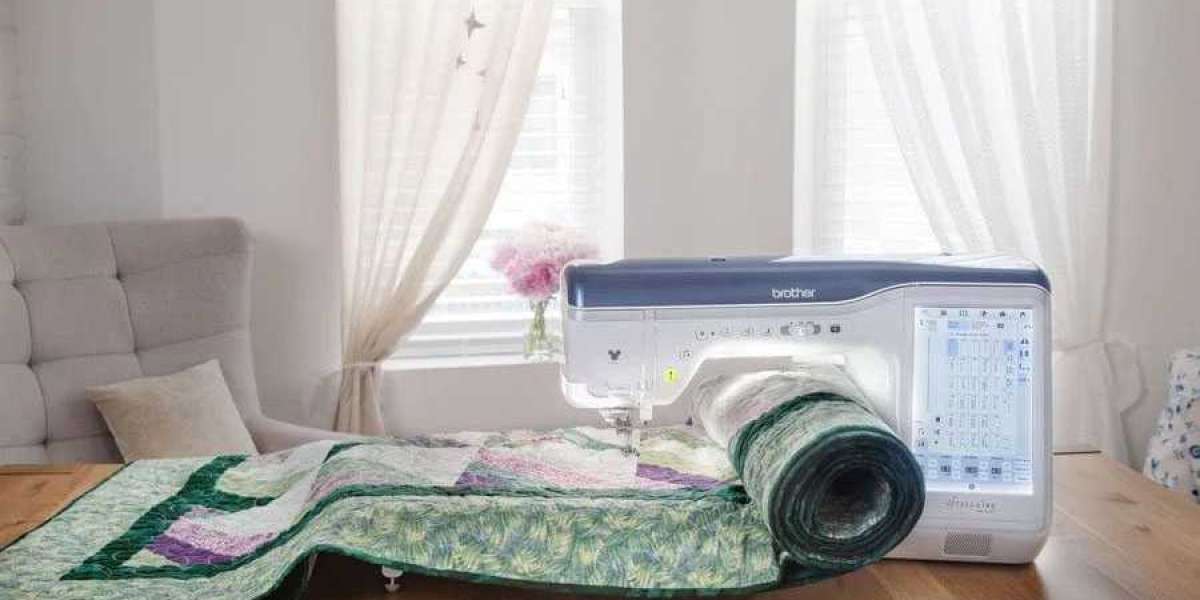
Need to convert designs to PES format? Discover the best software and online tools to transform images, vectors, and embroidery files into Brother-compatible PES files with perfect results
Introduction
Every embroidery enthusiast knows the frustration: you find the perfect design, but it's not in PES format for your Brother machine. Whether you're working with JPEGs, PNGs, vector files, or other embroidery formats, using a reliable PES file converter can simplify the process of getting your designs stitch-ready.
In this comprehensive guide, we'll compare the top PES file converter tools that can transform virtually any design into PES format. From free online PES file converter to professional-grade software solutions, you'll discover the perfect conversion tool for your skill level and project needs.
Understanding PES Files
Before diving into conversion tools, let's understand what makes PES files special:
Brother's proprietary format used by PE-Design and other Brother software
Contains stitch data, thread colors, and machine instructions
Supports different versions (PES 1.0, PES 2.0) based on machine generation
May include special features like lettering or editing capabilities
Why Convert to PES Format?
You'll typically need PES conversion when:
Using Brother embroidery machines (most home models require PES)
Working with designs from other sources (DST, EXP, JEF, etc.)
Creating custom designs from images or vector files
Sharing designs with others who use Brother machines
The 5 Best PES Conversion Methods
After extensive testing, these are the most reliable ways to convert designs to PES format:
1. Professional Digitizing Software
Best for: Designers who need complete control
Top Picks:
Wilcom Hatch
Embrilliance StitchArtist
Pulse Ambassador
Pros:
Highest quality conversions
Full editing capabilities
Batch processing
Cons:
Expensive ($500+)
Steep learning curve
2. Mid-Range Conversion Software
Best for: Serious hobbyists and small businesses
Top Picks:
SewWhat-Pro
BuzzTools
MyEditor
Pros:
More affordable (50−50−300)
Good balance of features and ease-of-use
Handles multiple formats
Cons:
Limited advanced features
Some learning required
3. Online Conversion Services
Best for: Quick one-time conversions
Top Picks:
MyEditor Online
Embrid
Stitchize
Pros:
No software to install
Fast turnaround
Pay-per-use pricing
Cons:
Less control over results
File size limitations
4. Free Conversion Tools
Best for: Beginners and occasional users
Top Picks:
Ink/Stitch (Inkscape extension)
SewArt (limited free version)
Wilcom TrueSizer (free viewer with conversion)
Pros:
$0 cost
Good for basic conversions
Cons:
Limited format support
Basic features only
5. Manual Redigitizing
Best for: Professional results from images
Process:
Trace design in vector software
Digitize from scratch in embroidery software
Pros:
Best possible quality
Complete creative control
Cons:
Time-consuming
Requires digitizing skills
Step-by-Step Conversion Guide
Follow this process regardless of which tool you choose:
Prepare Your Source File
Clean up artwork (remove backgrounds, simplify details)
Convert to vector if possible
Note important colors and elements
Choose Your Conversion Method
Match tool to your skill level and needs
Consider file type and complexity
Set Conversion Parameters
Select PES as output format
Choose appropriate version
Adjust stitch settings if available
Run the Conversion
Save original and converted files separately
Note any warnings or errors
Test and Refine
Stitch sample on scrap fabric
Make adjustments as needed
Conversion Challenges and Solutions
Problem: Design Elements Missing After Conversion
Solutions:
Try a different conversion method
Simplify complex areas
Manually recreate missing elements
Problem: Poor Stitch Quality
Solutions:
Adjust density settings
Add manual underlay
Try professional software
Problem: Color Changes Not Preserved
Solutions:
Manually reset color palette
Use software that reads color information better
Problem: File Won't Open on Machine
Solutions:
Verify correct PES version
Check for file corruption
Reduce design complexity
Expert Tips for Perfect Conversions
Start with the Right File Type
Vector (SVG, AI, EPS) PNG/JPG Other embroidery formats
Match PES Version to Your Machine
Newer Brother models need PES 2.0 or higher
Simplify Before Converting
Remove tiny details that won't stitch well
Test on Actual Fabric
Different materials require different settings
Build a Library of Presets
Save your best conversion settings for future use
Future of PES Conversion
Emerging technologies changing the game:
AI-powered auto-digitizing for better quality
Cloud-based conversion for anywhere access
Machine-specific optimization for perfect results
Conclusion
Converting designs to PES format opens up creative possibilities for Brother machine owners. While professional software delivers the best results, there are quality options for every budget and skill level.
Remember that perfect conversions often require some trial and error. Start with simple designs, test thoroughly, and gradually work up to more complex projects. With the right tools and techniques from this guide, you'll be converting like a pro in no time.
Have a favorite conversion tool we didn't mention? Share your experiences in the comments to help fellow embroiderers!


